Posts
Site Editor
 Site
https://fsx-metal.usa72.wondercdn.com/uploads/image/648ff3400844c.png
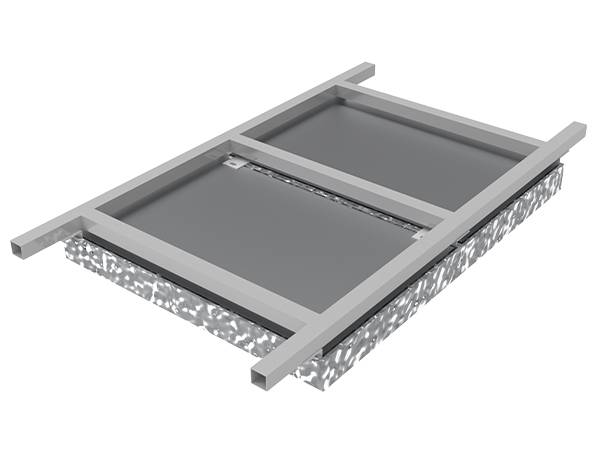
Introducing three different water ripple sheet installation methods to help users maximize its potential and aesthetic appeal.
Site
https://fsx-metal.usa72.wondercdn.com/uploads/image/648ff3400844c.png
Introducing three different water ripple sheet installation methods to help users maximize its potential and aesthetic appeal.
How To Install Water Ripple Stainless Steel Sheet Project?
Views: 797
Author: Site Editor
Publish Time: 2023-07-21
Origin: Site
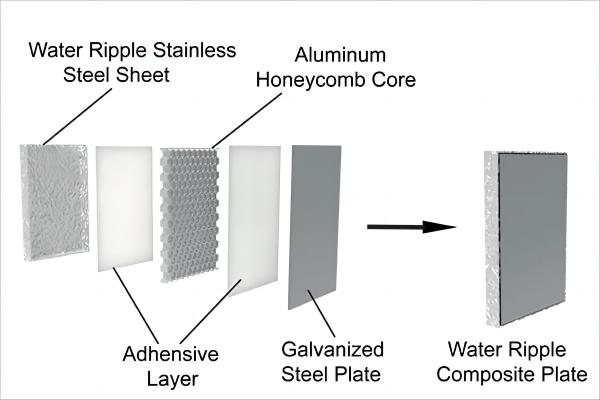
Welcome to our blog, where we delve into the world of unique design elements and innovative applications. Today, we're focusing on a product that has been making waves in the architectural and interior design industry - the Water Ripple Sheet. This product, characterized by its distinctive visual appeal, has been lauded for its versatility and the unique aesthetic it brings to any space it graces.
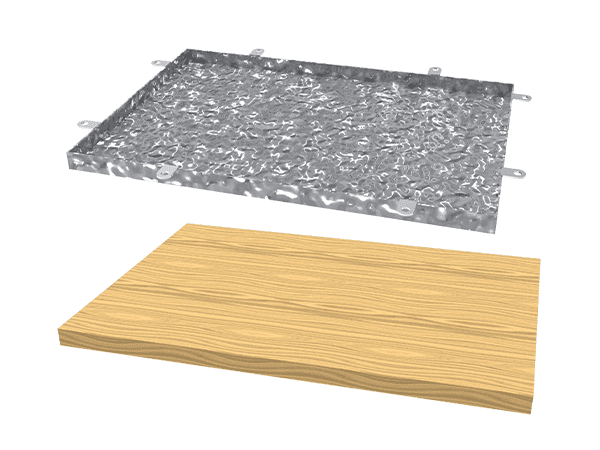
The Water Ripple Sheet, as the name suggests, mimics the mesmerizing patterns created by ripples on a water surface. This captivating design, combined with the product's high-quality materials, makes it a popular choice for a wide range of applications. From serving as an intriguing wall decor element to acting as a unique partition in open spaces, the Water Ripple Sheet has proven its worth in enhancing the beauty and functionality of various settings.
However, despite the growing popularity and evident benefits of the Water Ripple Sheet, we've noticed that many users are still unsure about how to install this product. This is a crucial aspect, as proper installation is key to maximizing the product's potential and ensuring its longevity.
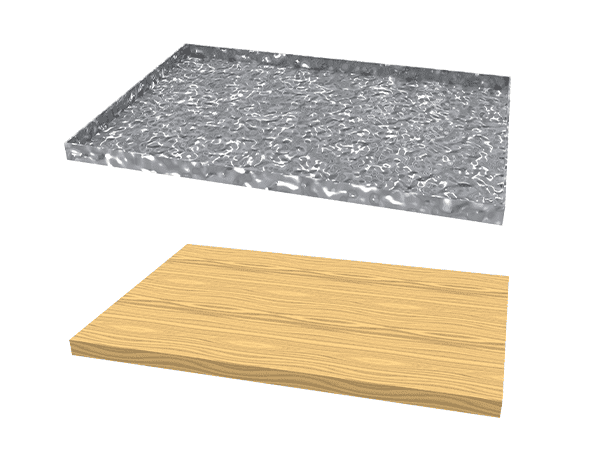
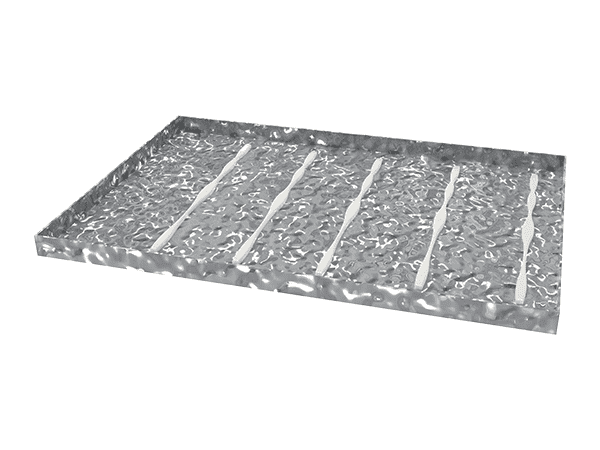
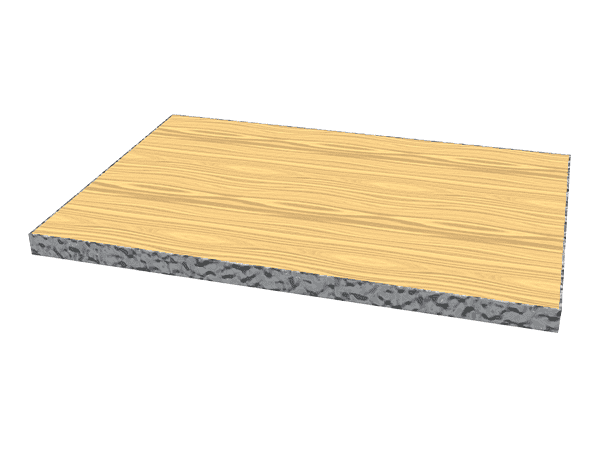
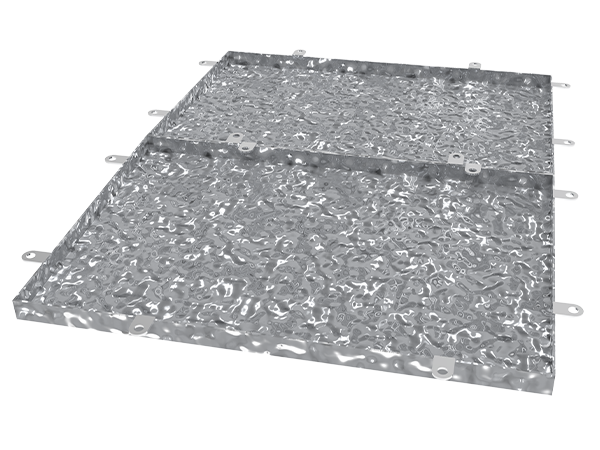
Recognizing this gap, we've decided to dedicate this blog post to provide a comprehensive guide on how to install the Water Ripple Sheet. We'll be covering three different installation methods, each suited to different scenarios and requirements. This way, whether you're a professional interior designer or a DIY enthusiast, you'll find a method that works best for you.
So, if you've been wondering how to get the most out of your Water Ripple Sheet, or if you're considering incorporating this product into your space but are hesitant due to uncertainties about the installation process, you've come to the right place. In the following sections, we'll walk you through each installation method step by step, providing detailed instructions and handy tips to ensure a smooth and successful installation.
Stay tuned as we unravel the mysteries of installing the Water Ripple Sheet, and help you transform your space into a visually stunning masterpiece. Remember, the beauty of the Water Ripple Sheet lies not just in its design, but also in the correct and secure installation that brings its design to life. Let's embark on this journey together, and unlock the full potential of the Water Ripple Sheet.


 EN
EN